Start iNZight
The easiest way to learn to use iNZight is simply to use it! We've created the interface to be as simple and self-explanatory as possible, with most of the thinking done by the program so you don't have to. This guide is aimed at first-time users---if that's you, keep reading! To find out more about what something does, you might want to try looking through The Interface pages.
You're currently viewing documentation for the Desktop version of iNZight. You can change this at any time using the switcher at the top of the sidebar.
To get started, you will first need to download the software onto your computer. Head to the downloads page, and then come back and continue with this tutorial.
After downloading the installer, double-click to run it and follow the on-screen instructions. If you leave the defaults, iNZight will be installed to C:\Program Files\iNZightVIT (but you can change this if you wish). The installer will create a folder in your Documents folder and add desktop shortcuts.
For other operating systems, follow the instructions on the downloads page (this includes the instructions for start-up and updating).
Starting iNZight (on Windows)
When you installed iNZight, the installer should have created desktop icons. Just double-click on iNZight to launch the program.
Alternatively, you can start iNZight by going to Start > iNZightVIT (you might need to go to All Programs first) > iNZight.
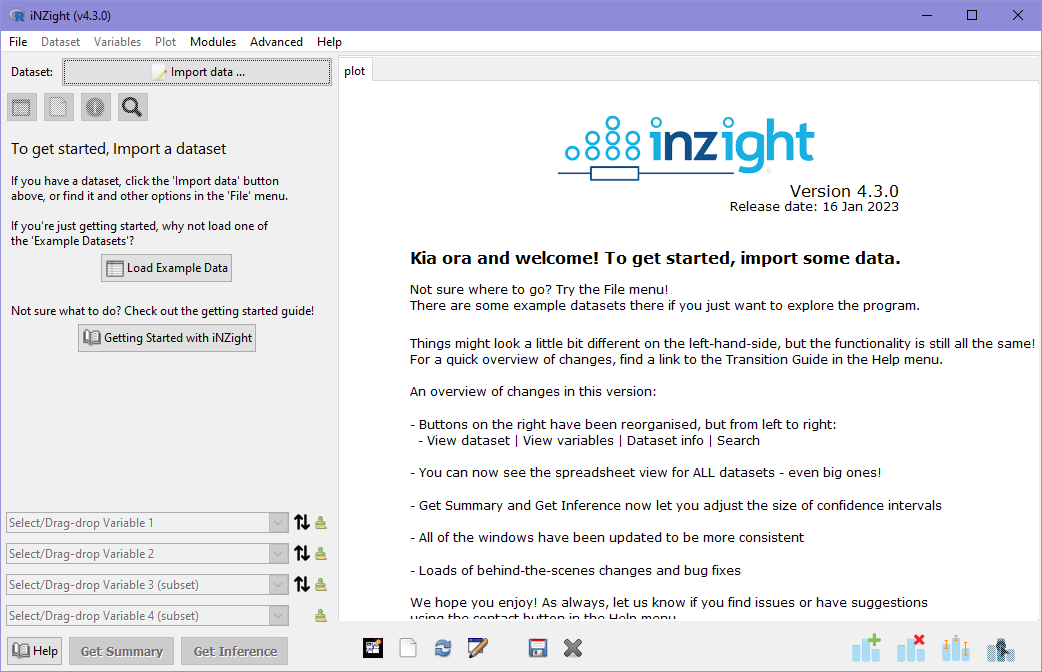
When iNZight first opens, here's what it will look like:
Updating iNZight (on Windows)
The Windows installer includes an updater for iNZight. To Update, you can either
-
Go to Start > All files > iNZightVIT, and click Update, or
-
Assuming you installed iNZight to the default directory, go to My Documents > iNZightVIT and double-click Update. This is shown below:
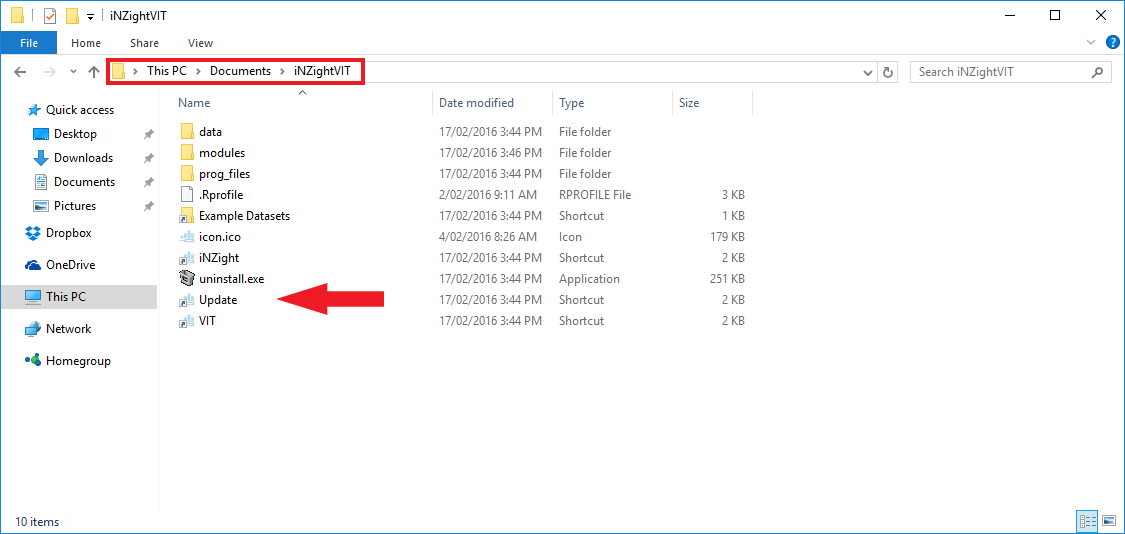
- If you can't find the iNZightVIT folder in either of those locations, go to the directory where you installed iNZight. If you didn't install iNZight, you might need to ask your system administrator to do it for you.
Now that iNZight is installed, you're ready to import some data and create some graphs!